Money has always been tight for me and it's a well known fact that costuming (or any type of sewing for that matter) isn't cheap. Over my years of sewing I've figured out how to make costumes while still being able to afford it. So here are my tips for costuming on a budget.
1). The #1 rule of sewing any type of clothing - make a mock up. Not only will you refine the pattern you're making so it will fit and look just right, if you make a mistake it's on a piece of cheap material and not the material you paid $12 a yard for.
2). Take advantage of thrift stores. I regularly keep any eye out for costuming supply's at thrift stores like Goodwill. I've bought sheets to use for mock ups for cheap, found curtains that end up being perfect for accessories, and not to mention the shoes! I always check the thrift stores when I'm looking for shoes, because you never know what you might find and they're usually a great price.
3). Coupons. This one is probably obvious, but never go to a craft store without a coupon! Craft stores like Jo-Ann's are expensive and I once read an article that said never to buy fabric unless it's at least 30% off, otherwise you're getting ripped off. And it's true. Don't pay $12 a yard for cotton. Please.
The trick with coupons at craft stores is when they give you a good one the entire store is on sale for 20% off. There's not much you can do in that situation, but some stores like Hobby Lobby will take the sale price off and use your coupon instead. I've also heard that Jo-Ann's will price match, but I've never tried it.
4). Pattern sales. Never pay full price for a commercial pattern! Stores like Jo-Ann's put their patterns on sale all the time and it's normal for Simplicity Patterns to be $1 a piece and other brands between $2-5 a piece.
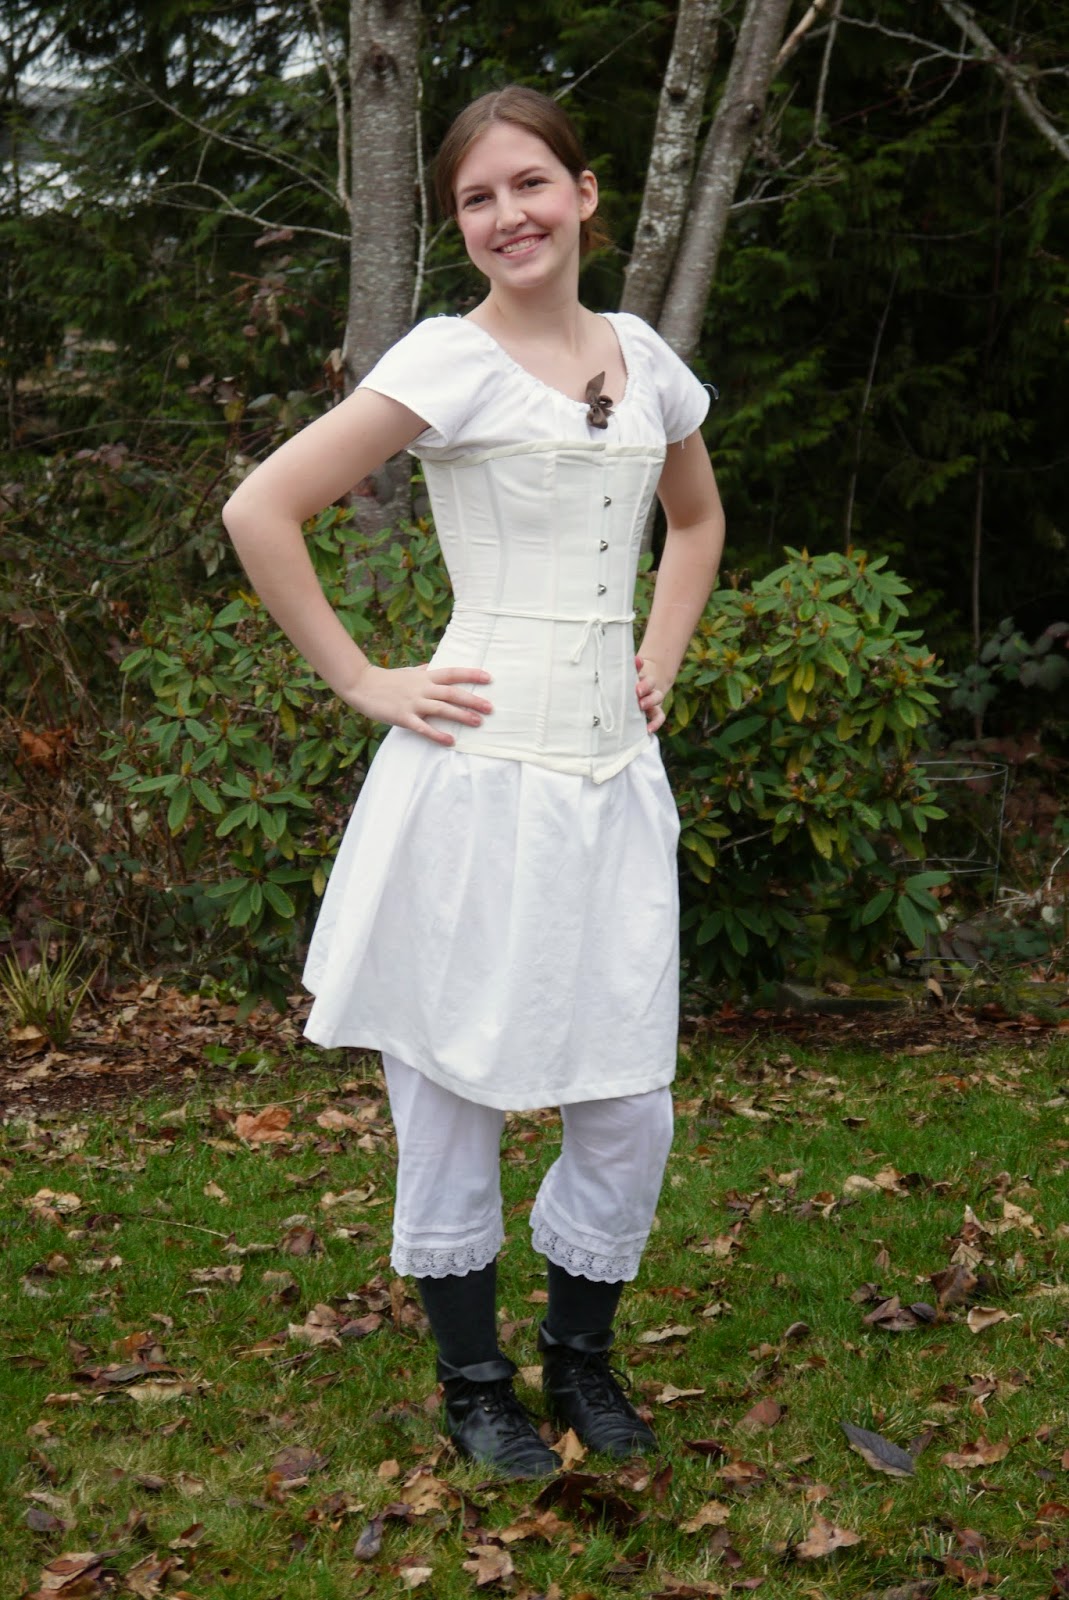
5). Do your research. Lets say you're making a corset, which in case you don't know anything about corsets they have to be made out of a material that doesn't stretch. There's a particular fabric called coutil made specifically for corsets, but it costs around $50 a yard. You probably don't want to pay that much unless you're an expert corset maker.
When I made my first corset I did some research and found that a lot of historical costumers use duck canvas instead. It costs around $10 a yard at Jo-Ann's, so with a coupon that's around $5. Much better than $50 plus shipping!
There isn't always going to be a cheaper option and someone who is more skilled at corset making would probably want to use coutil. But for my first corset? No way!
While there's lot's of good ways to save one money, I've found that sometimes cheap isn't always the best way to go. Here's a few things I've learned over the years that it's just best to spend the extra money on.
1). Patterns. They're expensive and sometimes a pain to work with, so pretty much since I started sewing I've avoided patterns whenever possible. I would opt to draft my own (which is great and I wouldn't change that even if I could go back in time) instead of spending $15 on a pattern. For certain things this really isn't a bad thing to do because sometimes there just
isn't a pattern for what you want to make.
But I've had plenty of times when I knew there was a pattern that would work perfectly but I would try and draft it myself just to save the $20, and no matter how hard I tried I just couldn't get it to fit right and would end up spending unnecessary time and fabric to try and make it work.
Sometimes it's just worth it to pay up and get the pattern.
2). Muslin. As I stated before, I've purchased old sheets to use for mock ups. As I've become more experienced at sewing, the more I liked working with muslin. I usually buy a bolt of 20 yards every couple of months when it goes on sale for $.99 a yard, and to me it's worth the money.
And that's all I've got for now! I'll probably end up thinking of more things I wished I'd added, in which case I'll write another post about.
Do YOU have any advise for costuming on a budget?