This year was a good year for me costume wise. I branched out into a some new era's of historical dress as well as had my first internship. I feel like I've gained a lot of technical skills such as draping and have a lot more confidence in my abilities than I did at the beginning of the year.
In Review
I started the year off by working on a couple of late 18th century ensembles. The Polonaise, and then the Gray Gown.In February I started working on Padme's Picnic Dress (AKA Project P19), which is still a work in progress.
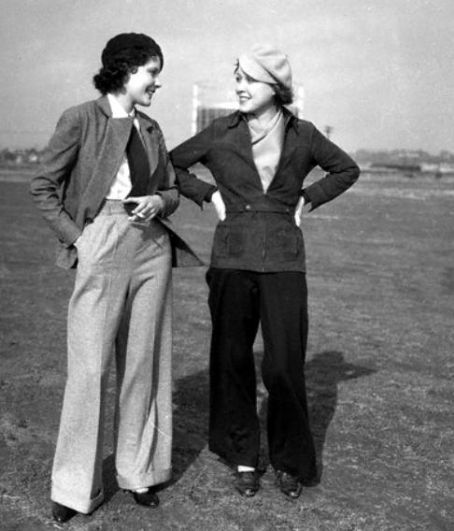
For Aviation Day I made a 1930's Aviatrix outfit, which I wore later in a 1940's style for Vintage Aircraft Weekend.
During the summer I interned in the wardrobe department of Beauty and the Beast, and during production helped maintain the costumes and worked as a dresser. I have so many good memories from that experience.
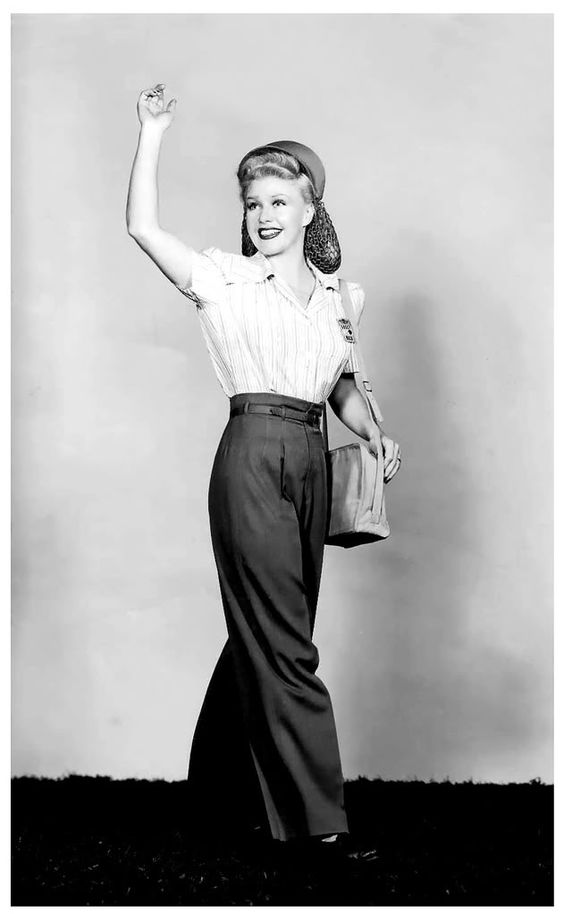
Then for Vintage Aircraft Weekend I made a 1940's swing dress.
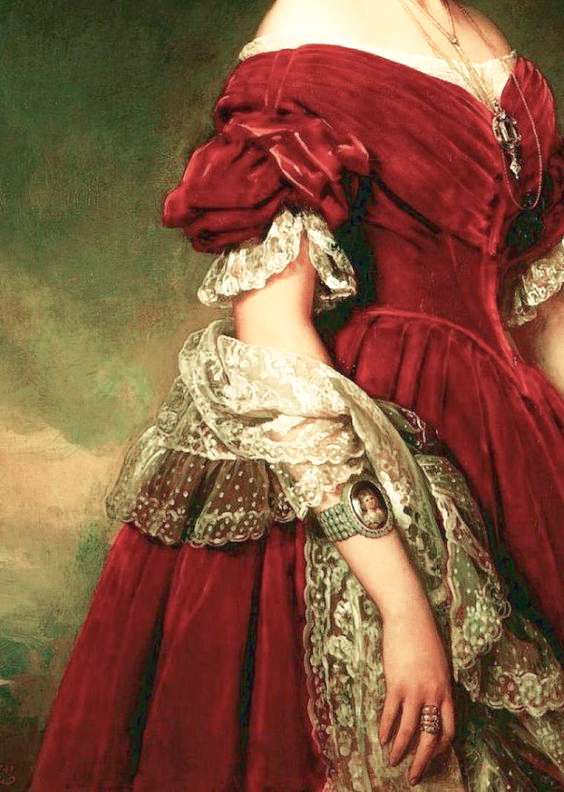
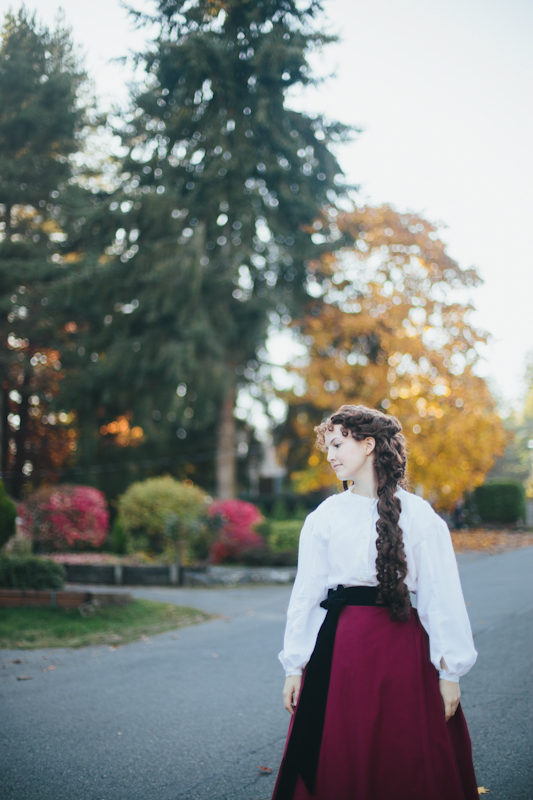
For Halloween I updated my 1871 dress by making a new shirtwaist and sash for my "portrait" costume.
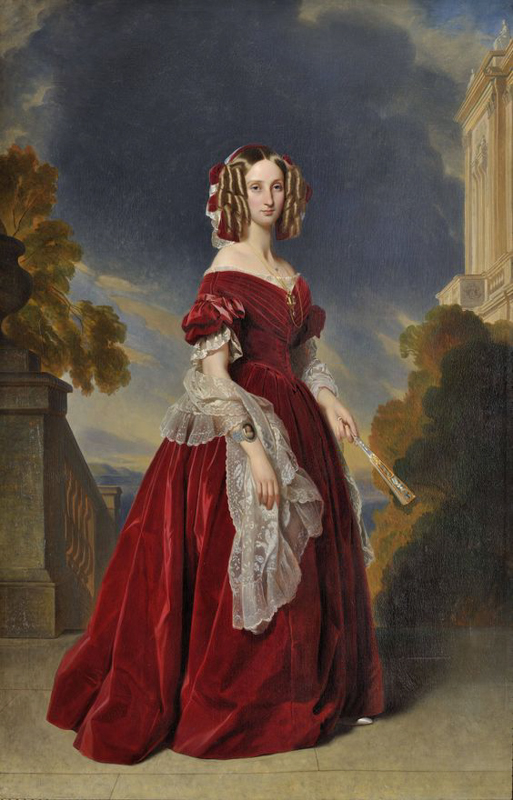
Next was the 1841 Marie Louise Gown, which is also still in progress. It's close to done, but I got sidetracked and it got pushed to the back burner.
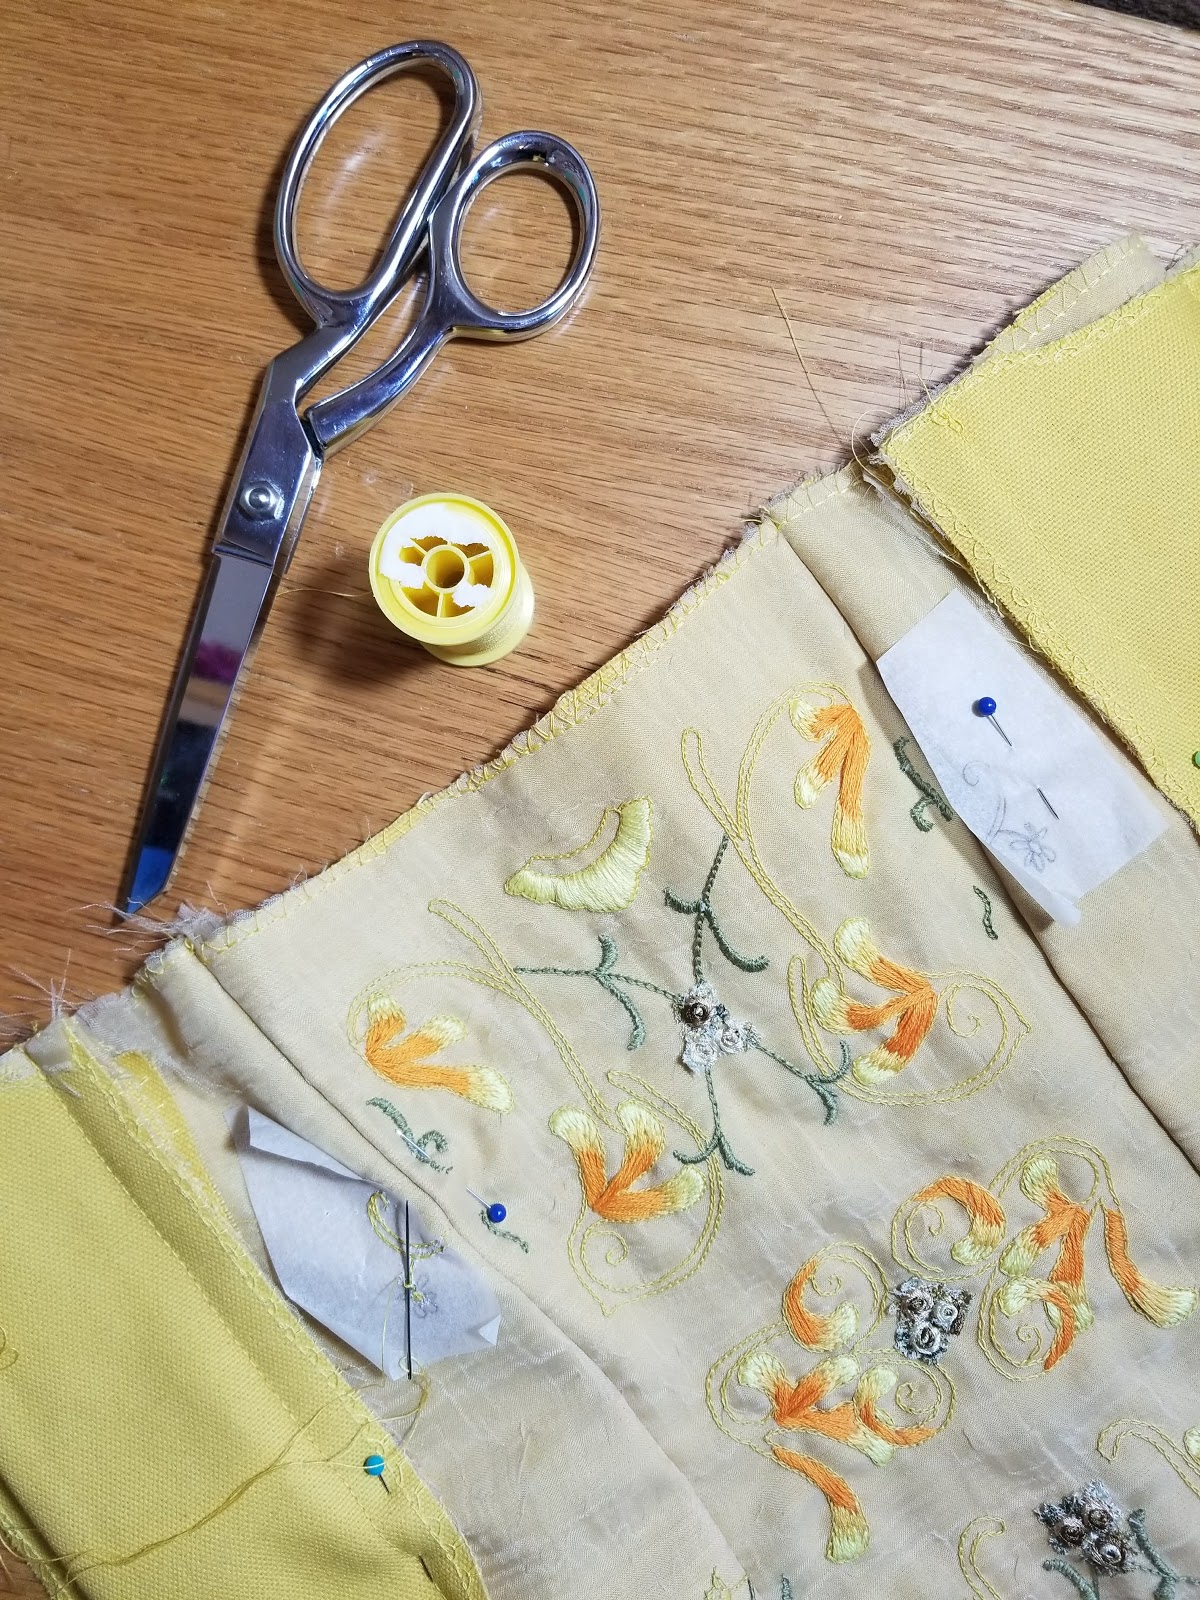
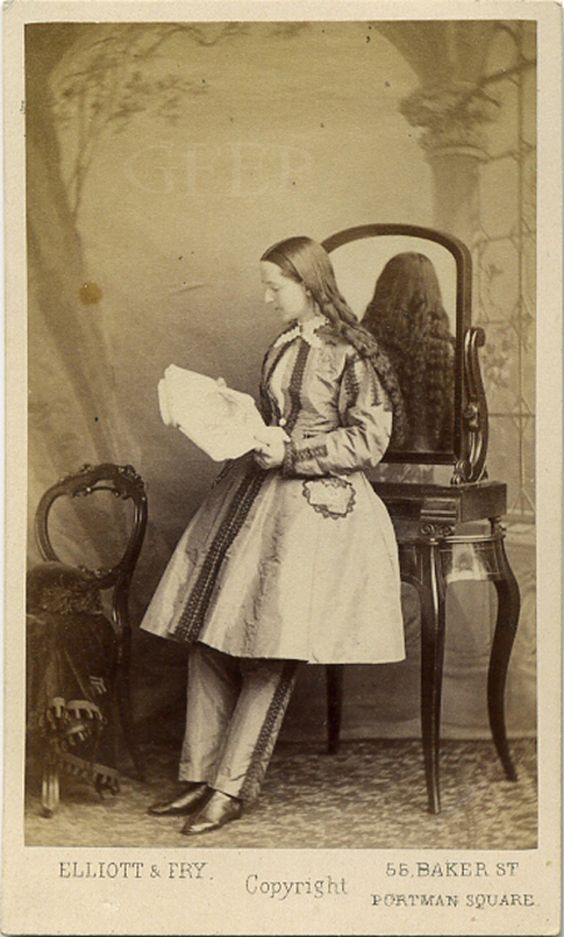
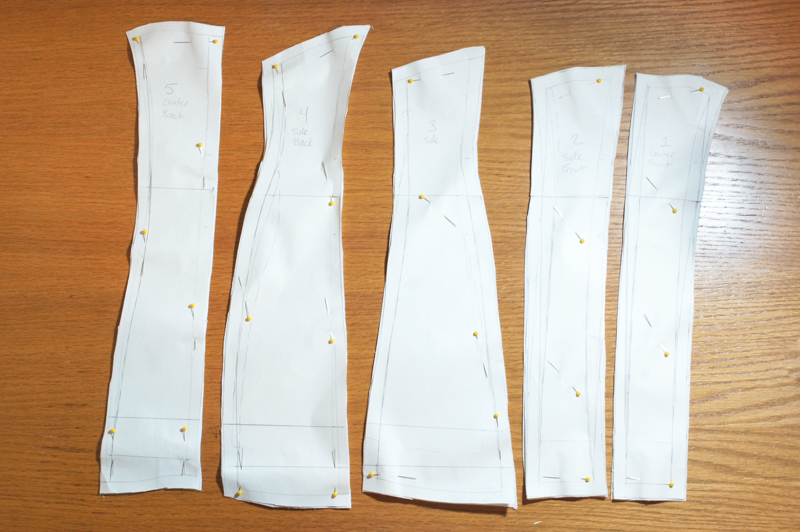
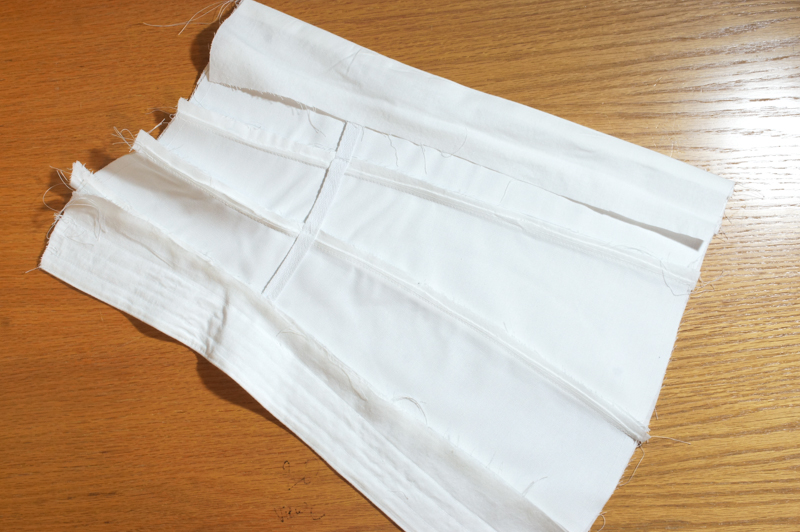
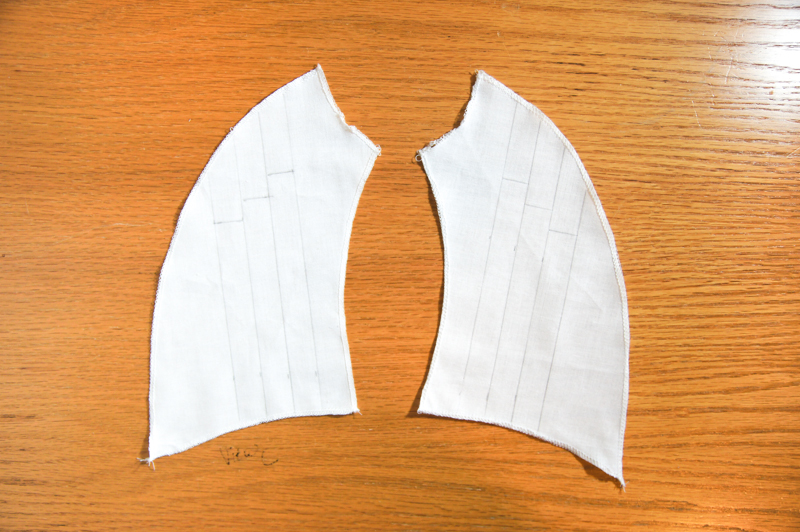
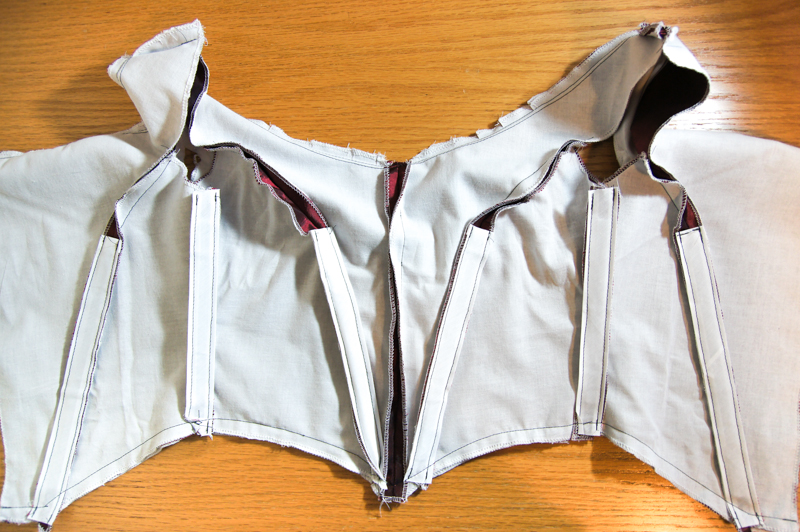
Lastly, my final project for the year is a WWI era corset and chemise, which will have a proper blog post soon.
 |
| 1770's Polonaise |
 |
| The Gray Gown |
 |
| Padme's Picnic Dress/Project P19 |
 |
| 1930's Aviatrix from Aviation Day |
 |
| Beauty and the Beast |
 |
| 1940's Swing Dress worn at the dinner dance at VAW |
 |
| 1940's Aviatrix worn at Vintage Aircraft Weekend |
 |
| 1870's Portrait Costume for Halloween |
 |
| The 1841 Marie Louise Gown in progress |
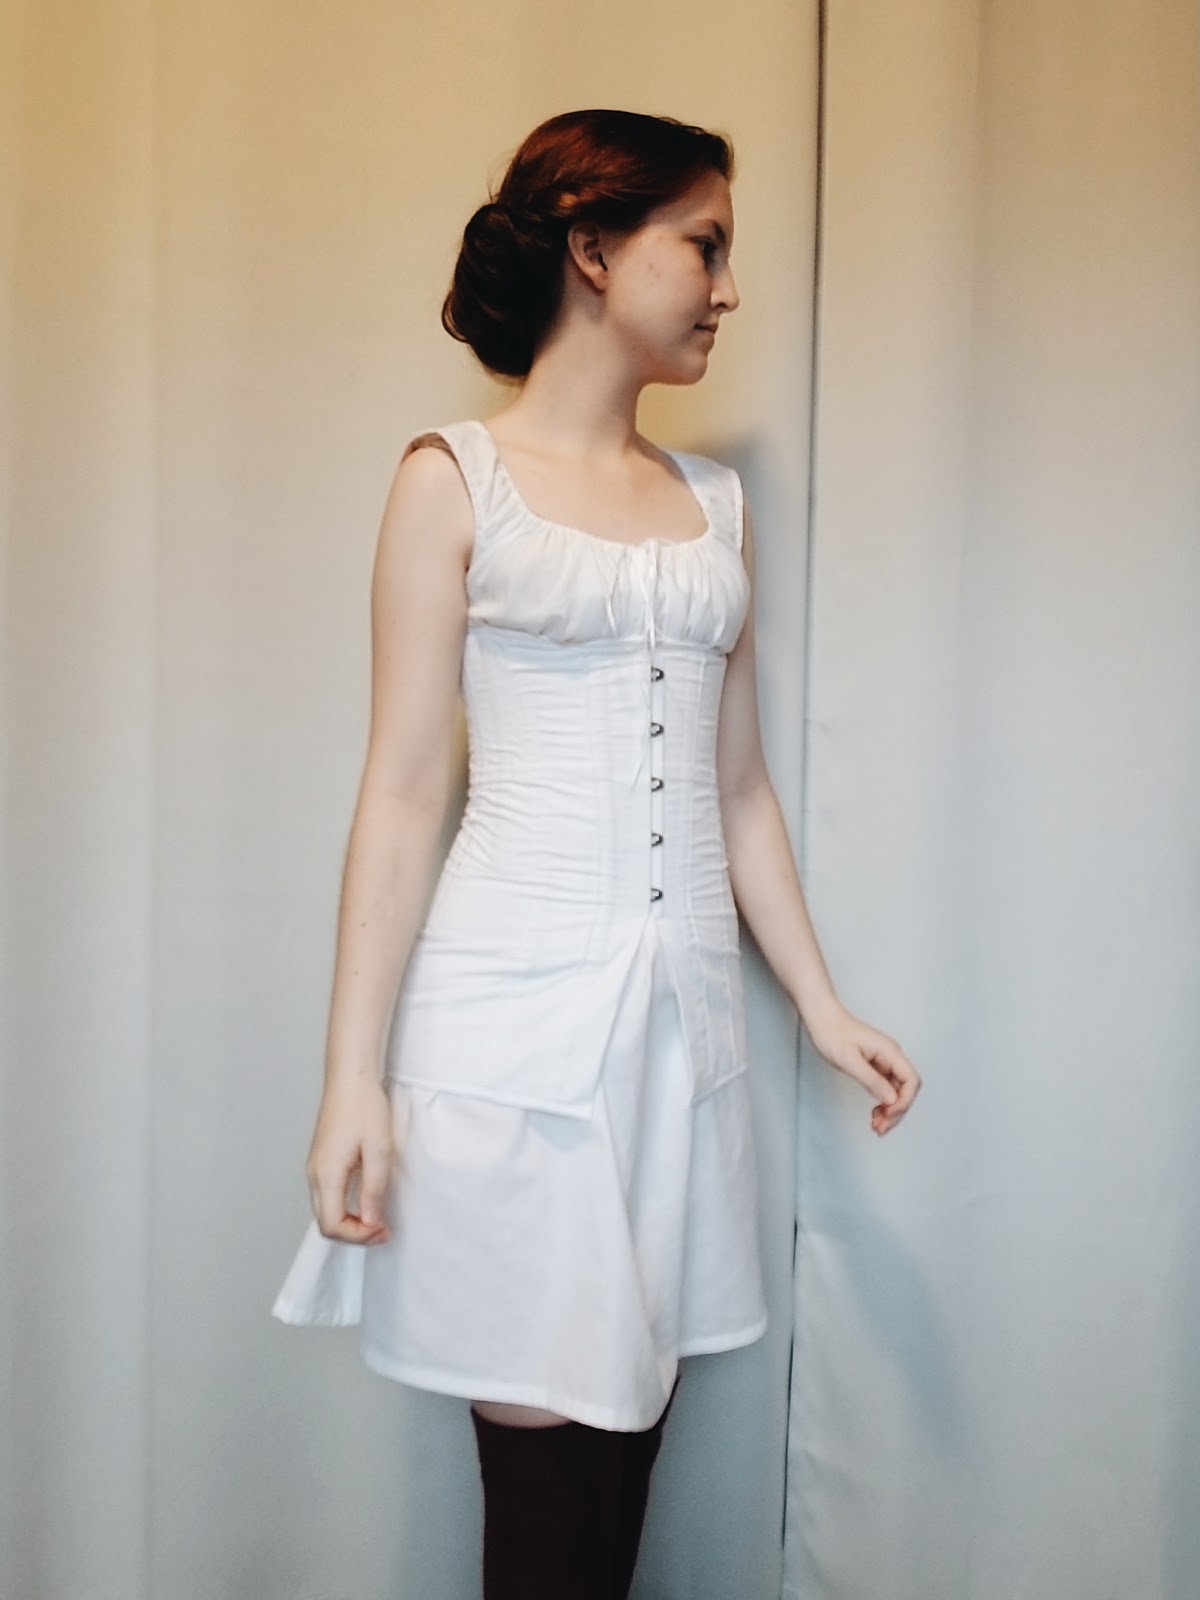 |
| WWI era corset and chemise |
Plans for 2018
Instead of having a list of specific costumes, I have slightly more vague goals for myself.
Goals:
-Develop my artistic voice and style. I really want to start finding and developing my style for both costuming and my blogging.
-Focus more on 20th century fashion. I specifically want to build a 1940's wardrobe, as I have several events each year I attend where WWII era fashion is appropriate.
-I also want to explore the fashions from 1916-18. I have some plans already, as well as fabric on the way.
-Finish P19 before Comic Con
Those are the only specific goals I have for this year, but I expect I'll experiment with a couple of other era's and likely continue a bit of 1840's through the year.
And with that, goodbye 2017. Hello 2018!
And with that, goodbye 2017. Hello 2018!


